Guide Navigation
Click any link below to go to the specified article in this guide:
Note: The information in this guide is closely related to the Everest API Object Reference.
Follow this link to get the Everest API Developer Guide.
Contents in this article:
Everest API Installation
When you purchase Everest, you will receive the SDK software in a CD-ROM.
NOTE: The Everest Advanced Application Server must be installed prior to installing Everest API.
To install Everest API, insert the CD-ROM into your computer's CD-ROM disk drive. From the Windows Explorer view, select the Everest SDK folder and double-click the Setup icon. You will see the Everest Advanced SDK - Installation Wizard - Welcome dialog box (Figure I-1).
Welcome
Figure I-1
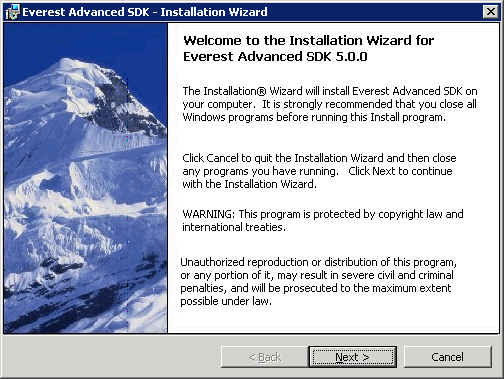
The Installation Wizard guides you through the installation process. Click Next to continue to the License Agreement dialog box (Figure I-2). It is important that you read the License and Services Agreement displayed in the dialog box and accept the terms to proceed with the installation.
License Agreement
Figure I-2
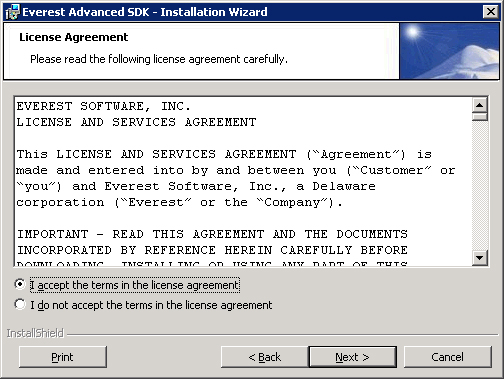
Select the option I accept the terms in the license agreement to agree with the terms and conditions. To review a hard copy of the license agreement or keep a copy for your records, click the Print button.
NOTE: If you select the option I do not accept the terms in the license agreement, you will not be able to proceed with the installation process.
Click Next to continue to the 'Validate your copy of Everest Advanced SDK' dialog box (Figure I-3).
Validate your copy of Everest Advanced SDK
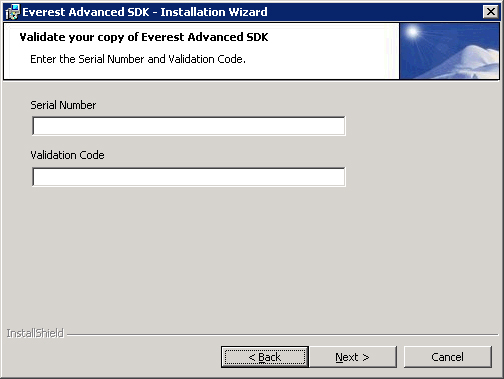
Figure I-3
- Serial Number: Enter the serial number that you received when you purchased Everest.
- Validation Code: Enter the validation code that you received when you purchased Everest Advanced SDK. If you cannot locate your serial number or validation code, Submit a Support Request.
Click Next to continue to the Customer Information dialog box (Figure I-4).
Customer Information
Figure I-4
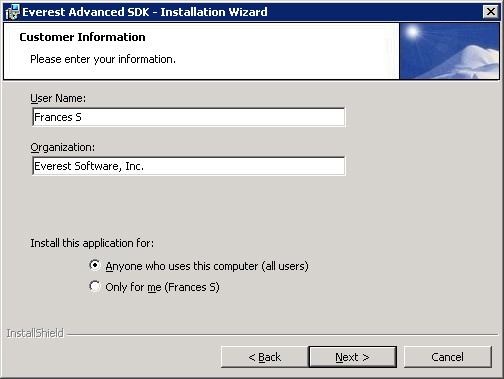
- User Name: Enter the name of the user.
- Organization: Enter the name of the organization.
You can install Everest API for any of the following users.
- Anyone who uses this computer (all users): Select this option to enable all the users (whose profiles are defined in the operating system) to use Everest API on your computer. Example: If your computer is shared among different users, these users will be able to use Everest API.
- Only for me: Select this option to restrict other users from using the Everest API installed on your computer. Everest API will be accessible only to you.
NOTE: A user profile is defined in the operating system's environment and is loaded when the user logs on. This profile contains user-specific settings of the operating system's environment such as program items, screen colors, network connections, printer connections, window size and position.
Click Next to continue to the Destination Folder dialog box (Figure I-5).
Destination Folder
Figure I-5
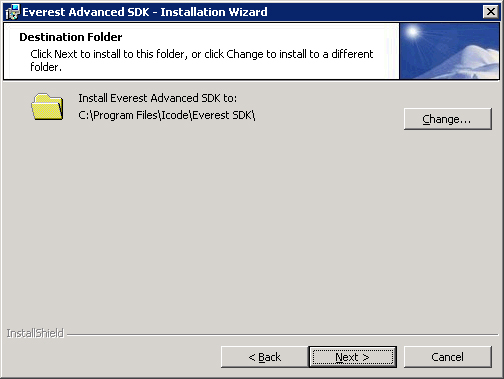
To install Everest in the default destination folder, click Next and continue to the Setup Type dialog box (see the "Setup Type" section below). To install Everest in a destination folder of your choice, click Change to continue to the Change Current Destination Folder dialog box (Figure I-6).
Change Current Destination Folder
Figure I-6
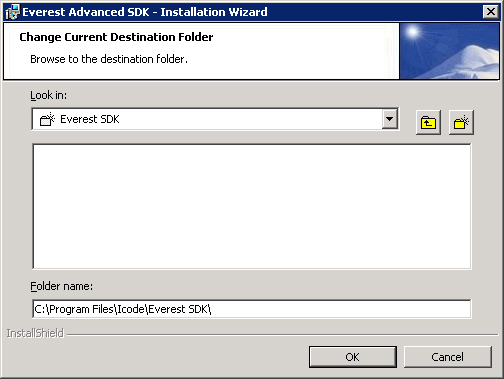
Select the new destination folder using the Look in drop-down button. Click OK to return to the Destination Folder dialog box, then click Next to continue to the Setup Type dialog box (Figure I-7).
Setup Type
Figure I-7
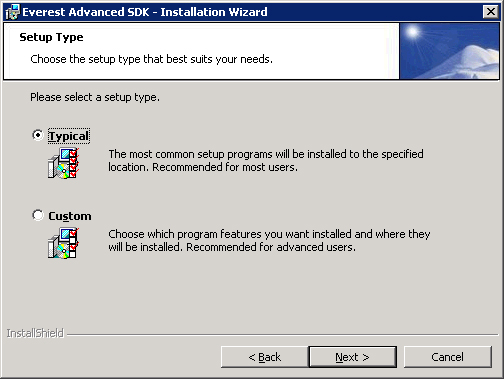
The Setup Type dialog box allows you to specify the type of setup (Typical or Custom).
Typical
Select Typical to install the typical SDK components including Everest API.
NOTE: Everest Advanced Application Server must be installed prior to using this option since it is necessary for the API component.
Click Next to continue to the Ready to Install the Program dialog box (see the "Ready to Install the Program" section below). If you have multiple websites, you will see the Website Selection page (see the "Website Selection" section below).
Custom
Select Custom to select or deselect SDK options, which include API and the EDM Case Tool (Figure I-8).
Figure I-8
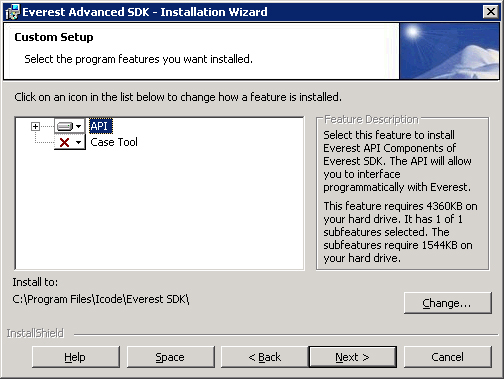
NOTE: Everest Advanced Application Server must be installed prior to selecting the API option since it is necessary for the API component.
Select/Deselect Components
To select/deselect components, click the options button 
- This feature will be installed on local hard drive: Choose this option to install the selected feature on your hard disk. Only the selected feature/subfeature will be installed.
- This feature, and all subfeatures, will be installed on local hard drive: Choose this option to install the feature and all its subfeatures on your hard disk. This option is available only if the feature has subfeatures.
- This feature will not be available: Select this option to disable the feature (the feature will not be installed).
Figure I-9

Click Next to continue to the Ready to Install the Program dialog box (see the "Ready to Install the Program" section below). If you are installing the API Sample component and you have multiple websites, you will see the Website Selection dialog box (Figure I-10).
Website Selection
Figure I-10
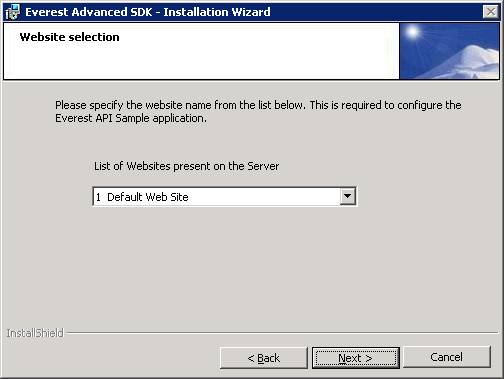
If multiple websites are installed on your computer and you are installing the API sample component, you will see the Website Selection dialog box.
List of Websites Present on the Server: Select the website name from the drop-down list. This is required to configure the API Sample.
Click Next to continue to the Ready to Install the Program dialog box (Figure I-11).
Ready to Install the Program
Figure I-11
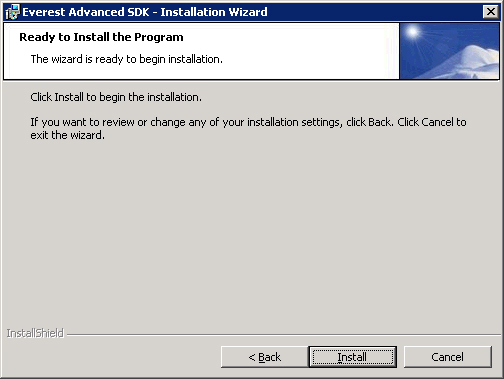
This window displays the version of the program that you are ready to install. Click Install to continue to the Installing Everest Advanced SDK dialog box (Figure I-12).
Figure I-12
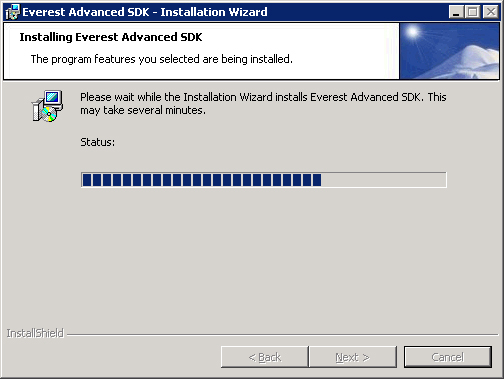
Installing Everest Advanced SDK
During installation, if any other programs are running on the workstation, you will see the Files in Use dialog box (Figure I-13). It is recommended that you shut down any programs that are running on your workstation before installing Everest API. This minimizes the risk of installation errors.
Figure I-13
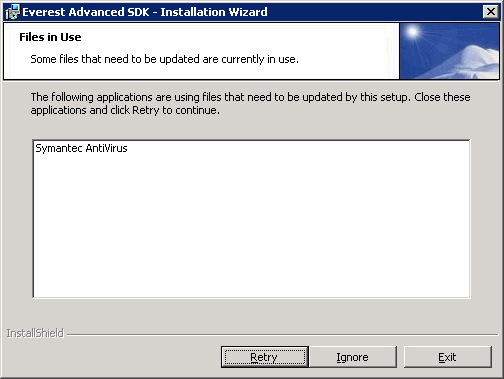
The Files in Use dialog box lists the programs running on your workstation. You can shut down these programs and click Retry to continue installation.
Once installation is complete, you will see the Installation Wizard Completed dialog box. Click Finish to exit the wizard. If you installed the EDM Case Tool, you will see a dialog box requesting that you restart your system (Figure I-14). Click Yes to restart your system.
Figure I-14

Open the Everest API Object Browser
To open the Everest API Object Browser, click the Start menu, then select Programs > Everest Advanced SDK > API Object Browser.
Next Section: Working with the Everest API
Priyanka Bhotika
Comments